Get inspired to design your own custom display! Explore some of the creative ideas our customers have brought to life.
Display Build Considerations
Here are some tips to keep in mind when creating your own custom display:
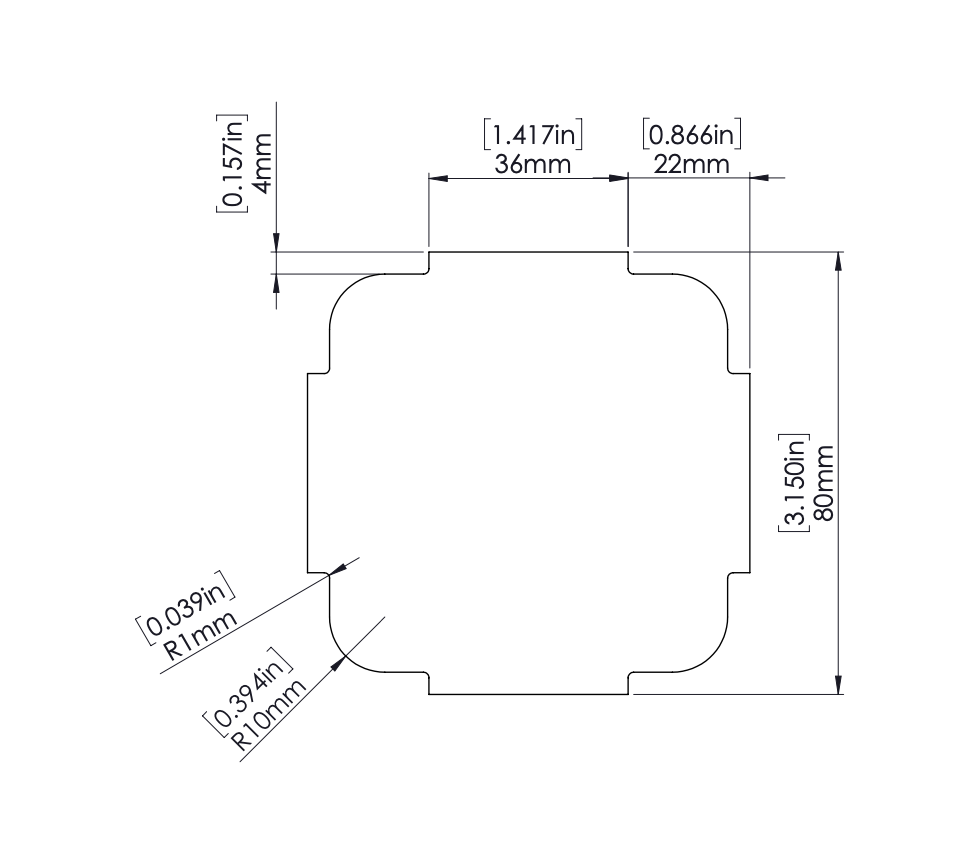
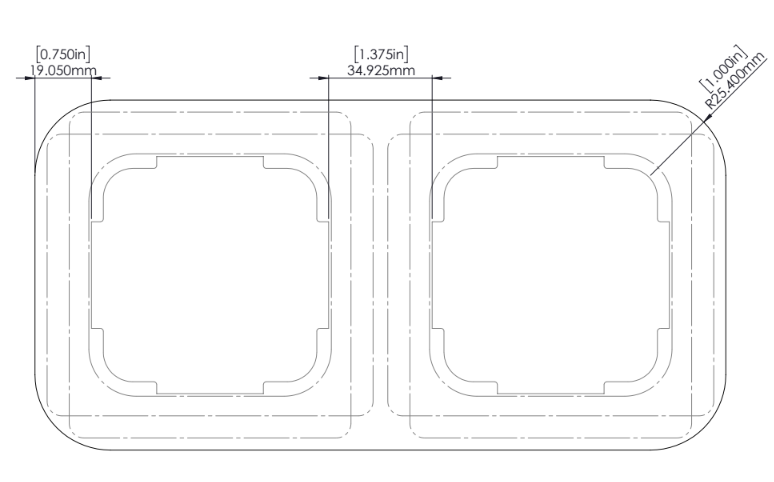
Verify with your printer that they can cut the tiptap device die-cut hole in the substrate you plan to use for your custom display, as not all printers are capable of cutting at these angles. Note: The substrate, material thickness, and the type of printer — all play a factor in what is possible.
Ensure your display design provides easy access to the device in case it needs to be replaced.
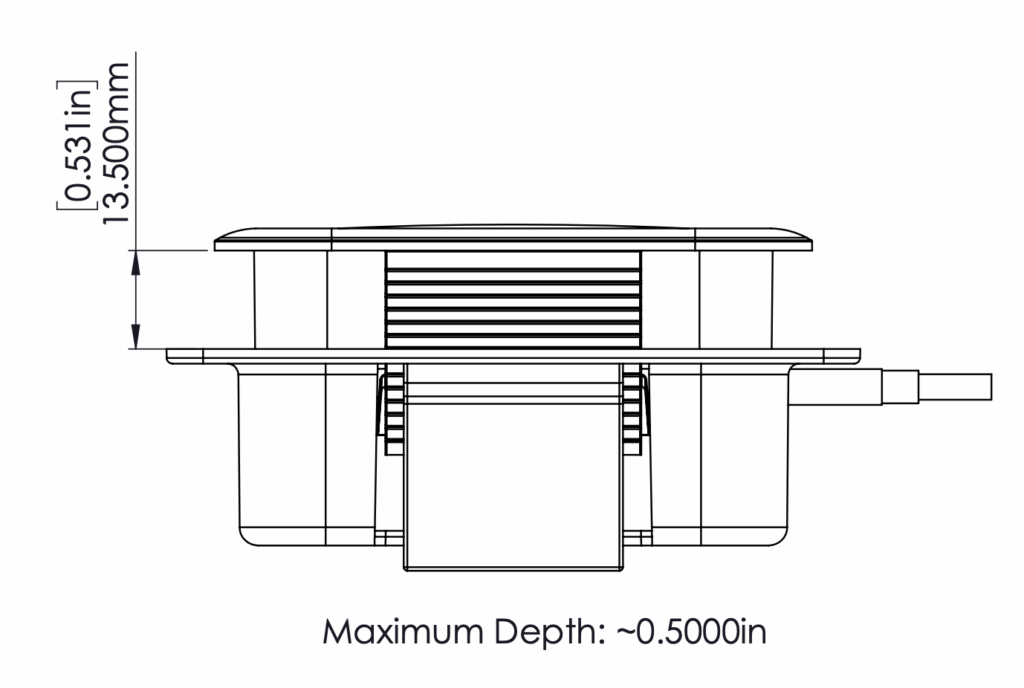
Make sure your display does not obstruct the hole at the bottom of the device, as this is where the cable needs to be plugged in.
Ensure the other end of the cable that is plugged into a standard wall outlet does not become a tripping hazard.
Install your custom display where cell connectivity is strong (tiptap devices will connect to your closest cell tower — no Wi-Fi).
What You Need
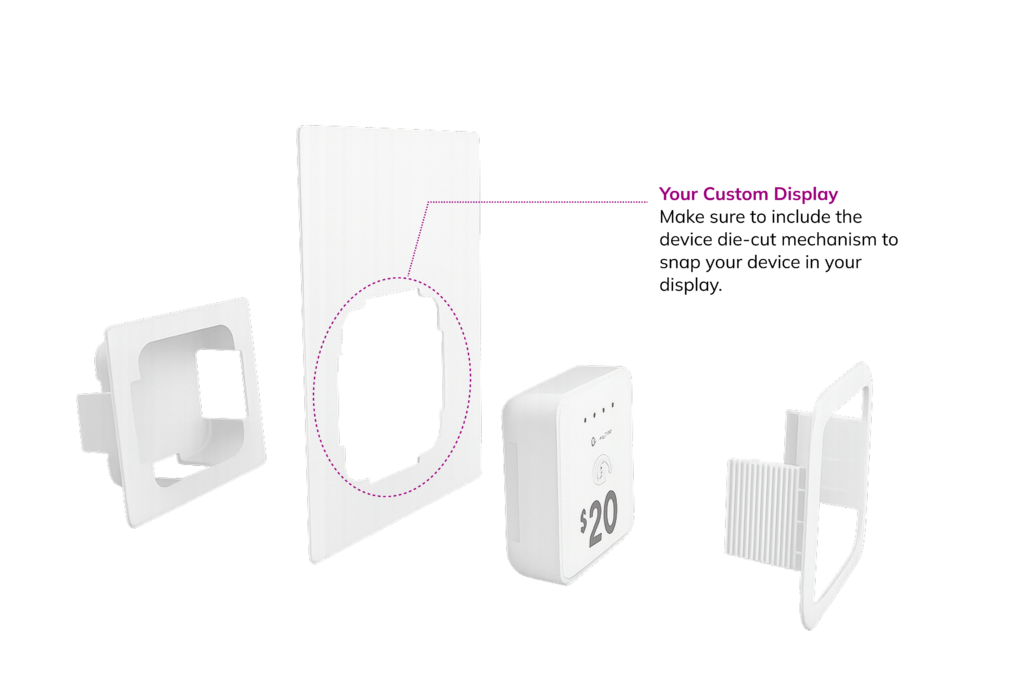
Ask us for the device die-cut dieline so you can get started on integrating the technology into your display.
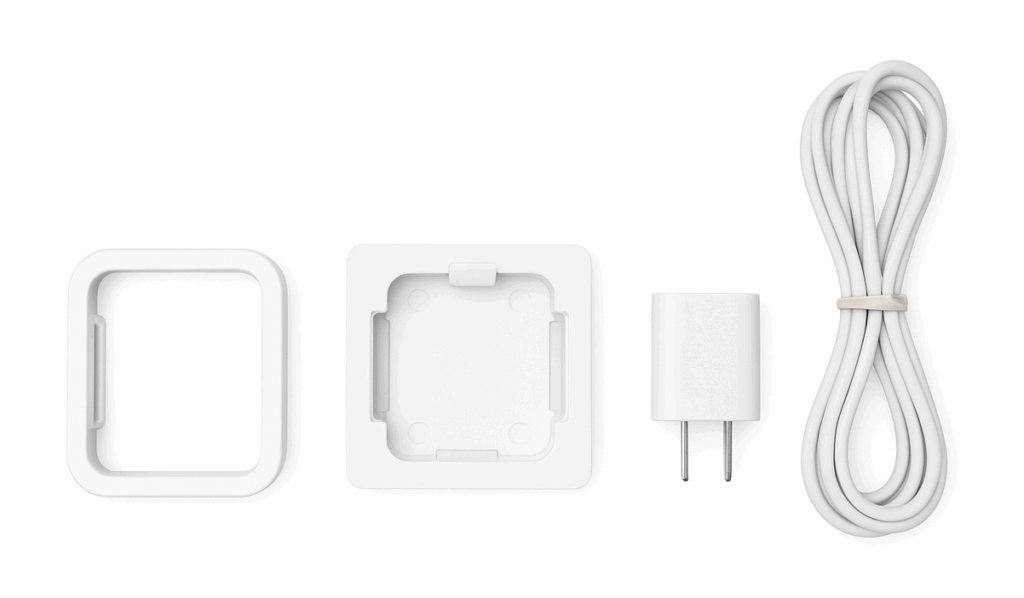
When placing your device order, be sure to also purchase the accessories needed to snap your device(s) into your display, along with a 10-ft power cable and wall plug to keep them powered.
How it Works
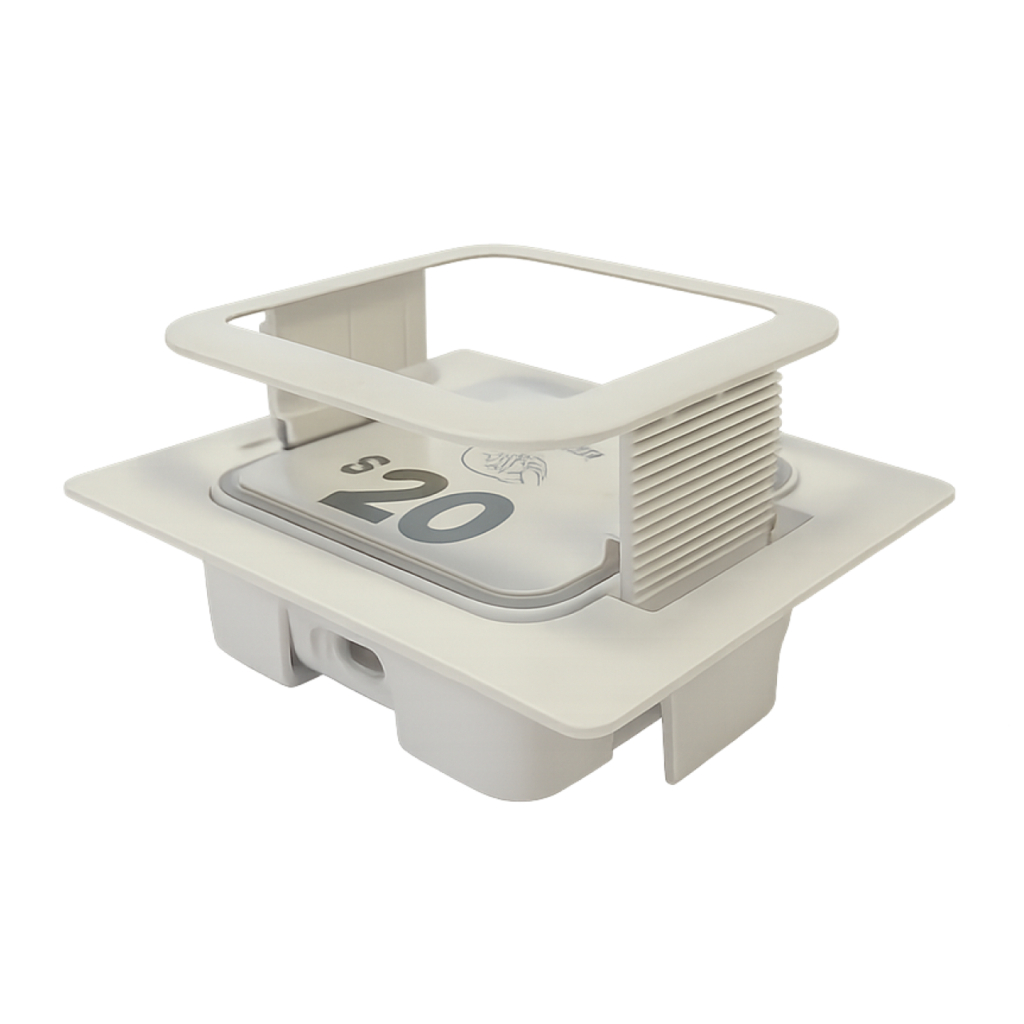
Snap your devices into the custom display using the front and back gaskets to securely hold them in place.
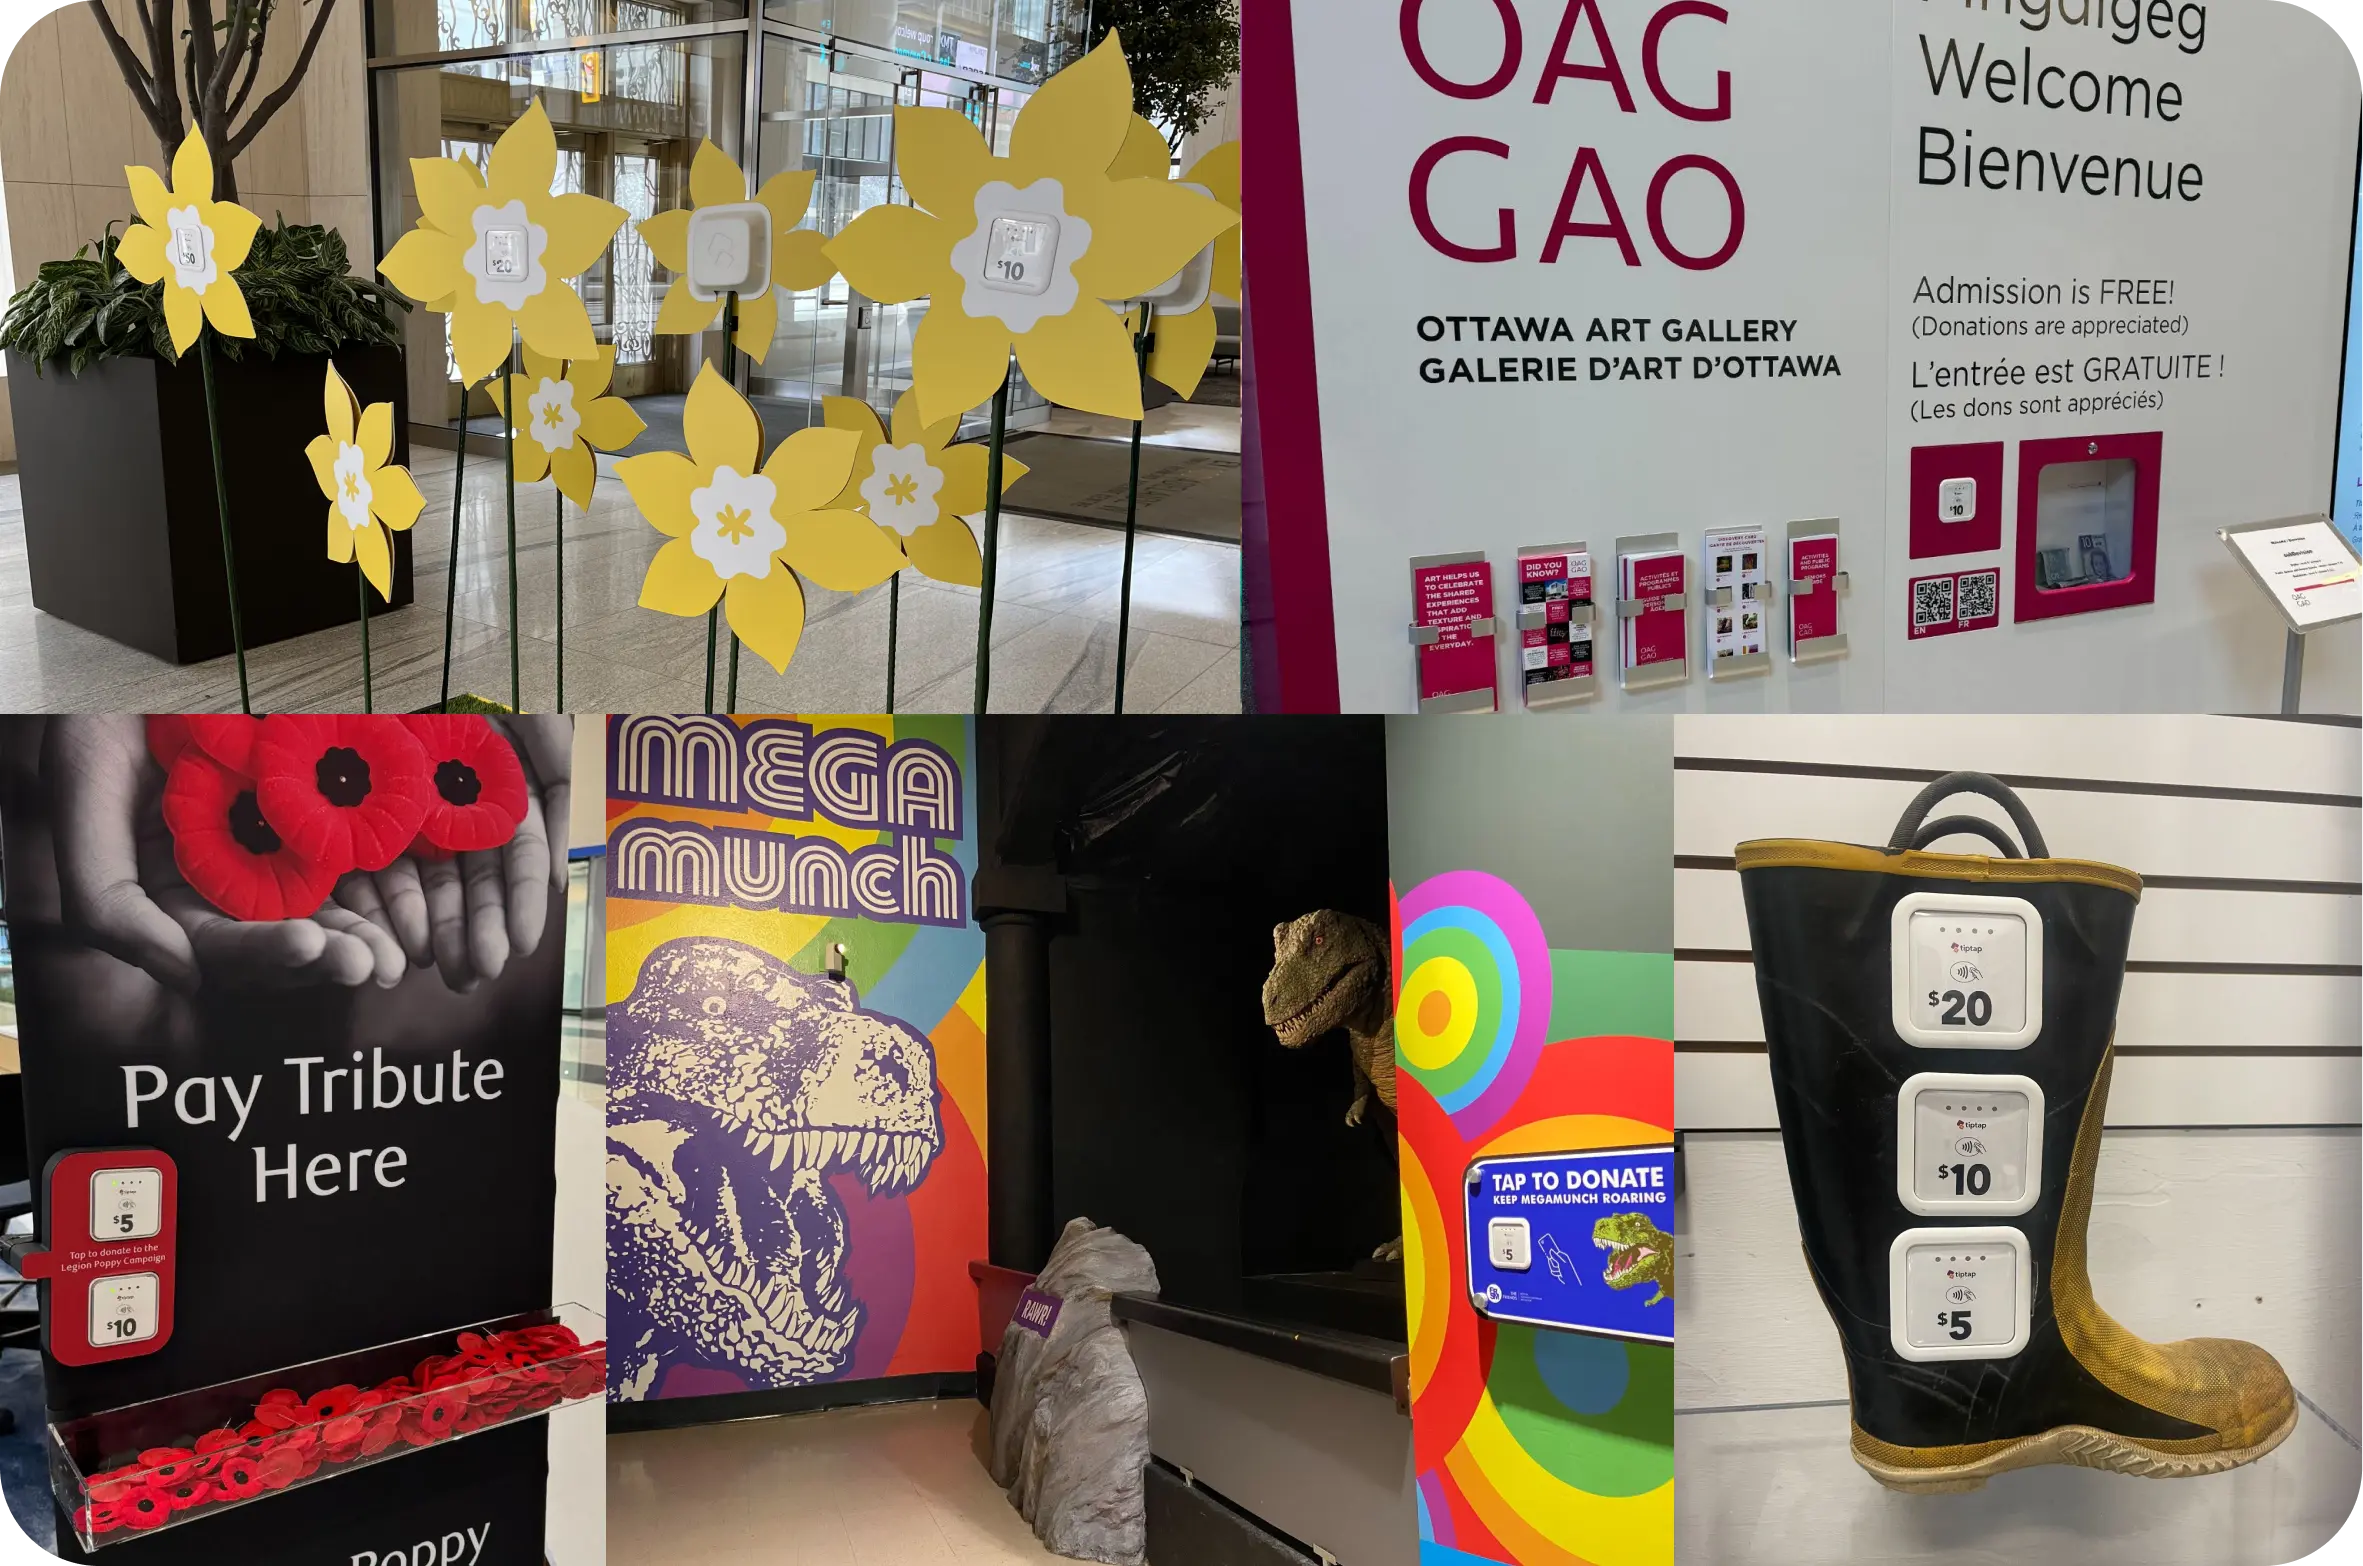
Examples
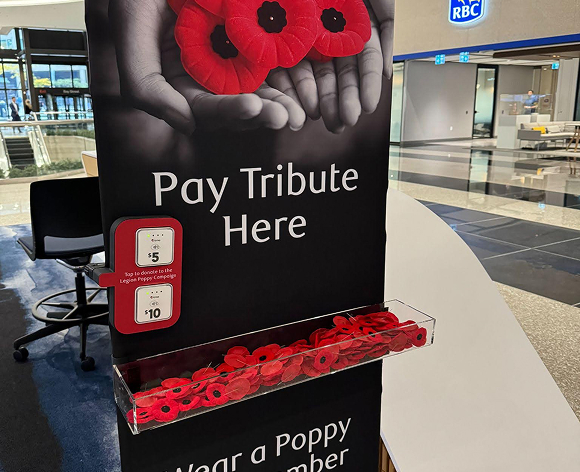
The royal canadian legion : The sign is made of fabric, and a custom clamp was designed to attach the devices. The front of the clamp holds the devices securely, while the back screws into the front to keep everything in place.
Mega Munch : Use standoff screws for convenient access to the devices when needed.
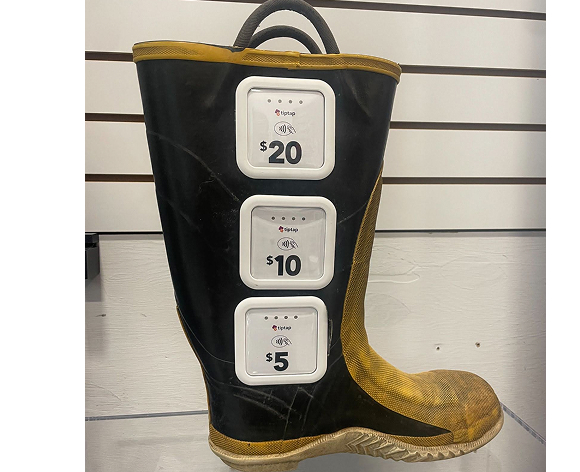
Firefighter boot :
An exacto-knife was used to cut out the device’s die-cut hole.
It’s best to trace the shape first, then cut.
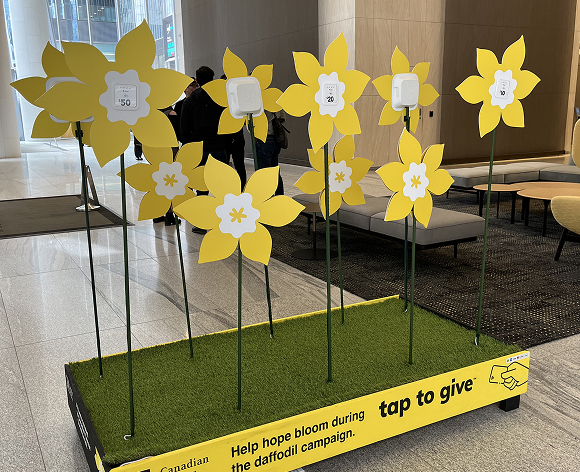
Canadian Cancer Society: As part of the Annual Daffodil Campaign, the foundation inspires Canadians to support and remember those affected by cancer. Each flower petal is printed with the tiptap device die-cut, allowing devices to easily snap into the flower garden display.
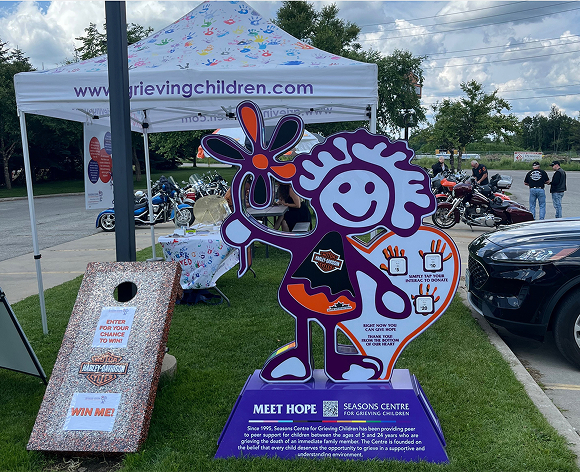
Grieving children : A custom design was developed in adobe illustrator, then sent to the printer to be printed in ths shape of the girl with heart, as well as the device die-cuts.